Hi All,
UPDATE: Video tutorial for this is available here -
pleated poltam skirt video tutorial - No lining
After having
formed tubes for poltam skirt we are now ready to pleat the front and gather and attach elastic to the back. Are you ready?
Here we go.
Make sure you now have:
a. Elastic that is cut to required measurements as per
online calculator
b. 3 tubes (waistband tube, skirt lining tube and skirt tube)
1. Set your machine to highest stitch length to run a
basting stitch.
2. I'm here using only 1 row of
gathering as in 1st method as described in
How to gather. Why?
a. Lazy :)
b. I'm hardly gathering fabric here. The back waistband and the skirt are a little different in lengths not a lot. That's because we will also be using elastic. But after I finished stitching the skirt I realised it would have produced a more neat effect had I used the proper way to gather (if not 2 rows on top and 1 down at least 1 on either side of seam allowance would do. )
Ok. So leave long of thread before you start to stitch without back stitching. Stitch midway of seam allowance on the top skirt back if using only 1 row of stitching else follow the
how to gather techique steps.
3. Also leave long tails after sewing without back stitching.
4. Now we are going to
nest the fabric pieces in the order shown. If
you are confused what is front or top of the skirt pieces please refer
poltam fabric pieces.
5. First wear or nest the skirt lining to the skirt. Make sure the
basted end is with the wider end of the top of the lining.
6. Pin the seams together at both ends.
Important: Wrong sides are facing you. (right side of the lining with wrong side of the fabric)
7. Now nest the
waistband to be the outer most. Remove the previous pins and now pin all 3 together at the seams
8. This is how it looks.
9. Now pin together the center and quarter points of the lining and skirt (only at the back that is where it is gathered) that you marked at the last step of
forming tubes
10. Now using
pull push method as described in gathering technique make the gathering fabric equal length as the lining.
11.
Pin all 3 fabrics together at various points to keep the gathers. Again only at the back. Even out the gathering with a
skewer if needed.
12. If you find that the lining piece is a little longer in width than the waistband then you could give it a
small pleat like shown here.
13. Now
turn the skirt inside out. Now we will start to pin the front of the skirt. Pin the center of the skirt (front) to the lining and the waistband.
14.
Form 3 pleats (pleats facing the side seams). I haven't calculated it but approximately 1.5 cm to 2 cm is the width of each pleat. Just pinch the fabric to form a pleat.
15. 3 pleats from center left face the left side seam and 3 pleats from center right face the right side seam.
16. This is how to back looks after the skirt top part is fully pinned and ready to be stitched.
17. Now stitch all along at the seam allowance. (2 cm in my case)
18. I now
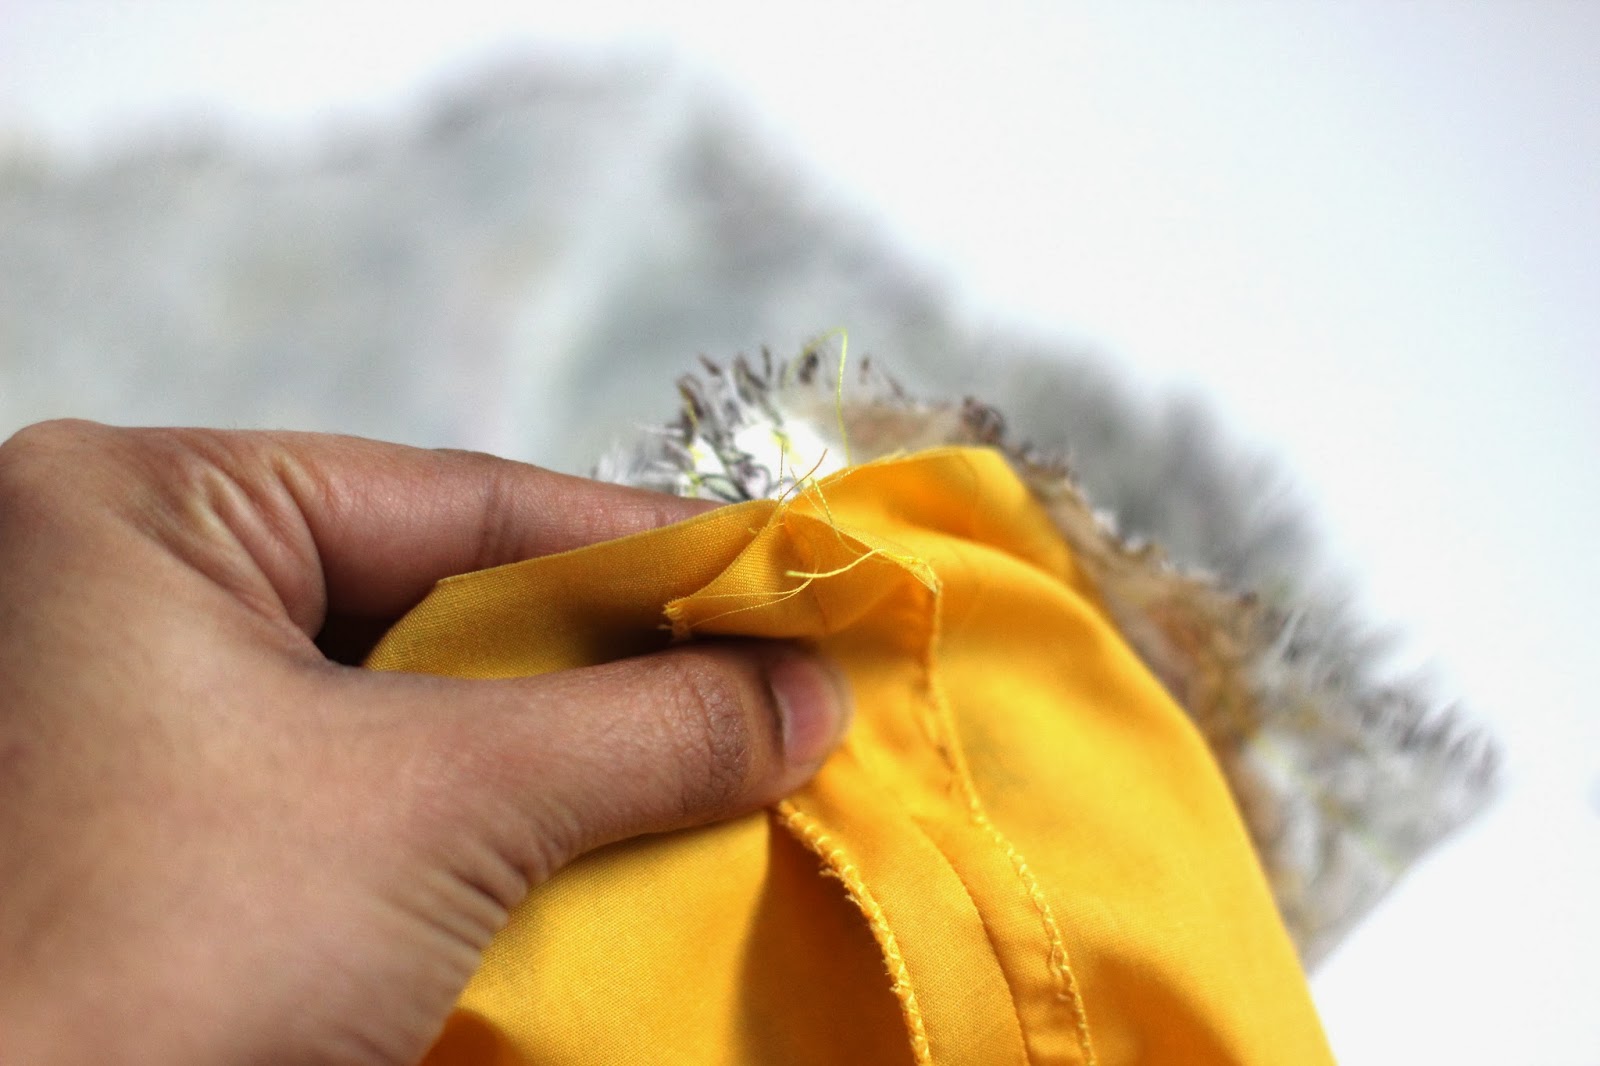
cut the fabric above the stitching line to 0.5 cm.
19. The skirt looks like this now. Starting to look like a skirt now :). Not far now.
Hope you are with me until this? Let me know.Thanks.
-Preethi.



 Have a great Sunday.