Thursday, 8 May 2014

Sewing Curved Seams

Ever wondered why your garment is pulling in odd places or why it is getting all bunched up? It probably must be that you haven't clipped or notched rightly at the curves.
I've explained below convex, concave - when to clip and notch. It is a long post so grab a cuppa and enjoy!!
Sewing curved seams hems- clipping notching concave convex


Jump to Section:
1. How to sew a curve
2. Sew concave to convex
3. Sew concave seams
4. Sew convex seams


Sewing - What is concave and convex
A curve could essentially be of 2 types  - Concave OR Convex: 
CONCAVE - The front of your spoon which goes towards the inside to hold the food. Have a look and you'll see yourself upside down. I remember learning about this at school :). Do you?
Think of it like a valley.


CONVEX: The back of the spoon which is like a hill.


Sewing curved seams takes some practise but very importantly there are techniques to follow - and this is what I'm going to show you today:

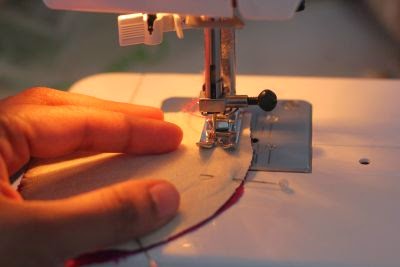
Stitching curves

How to sew a curved edge


how to sew a curve

- I use my left hand to glide and right hand (not shown as I used it to click) to remove pins and precision the glide of the left hand.
- I go really slow
How to pin curves
 - When the curve seems really difficult to manage I put the needle down
Pivot to sew curves
 pivot to the angle I need making sure there are no sharp corners and continue to sew.


How to sew concave to convex

How to sew concave to convex edge - How to sew opposing curves
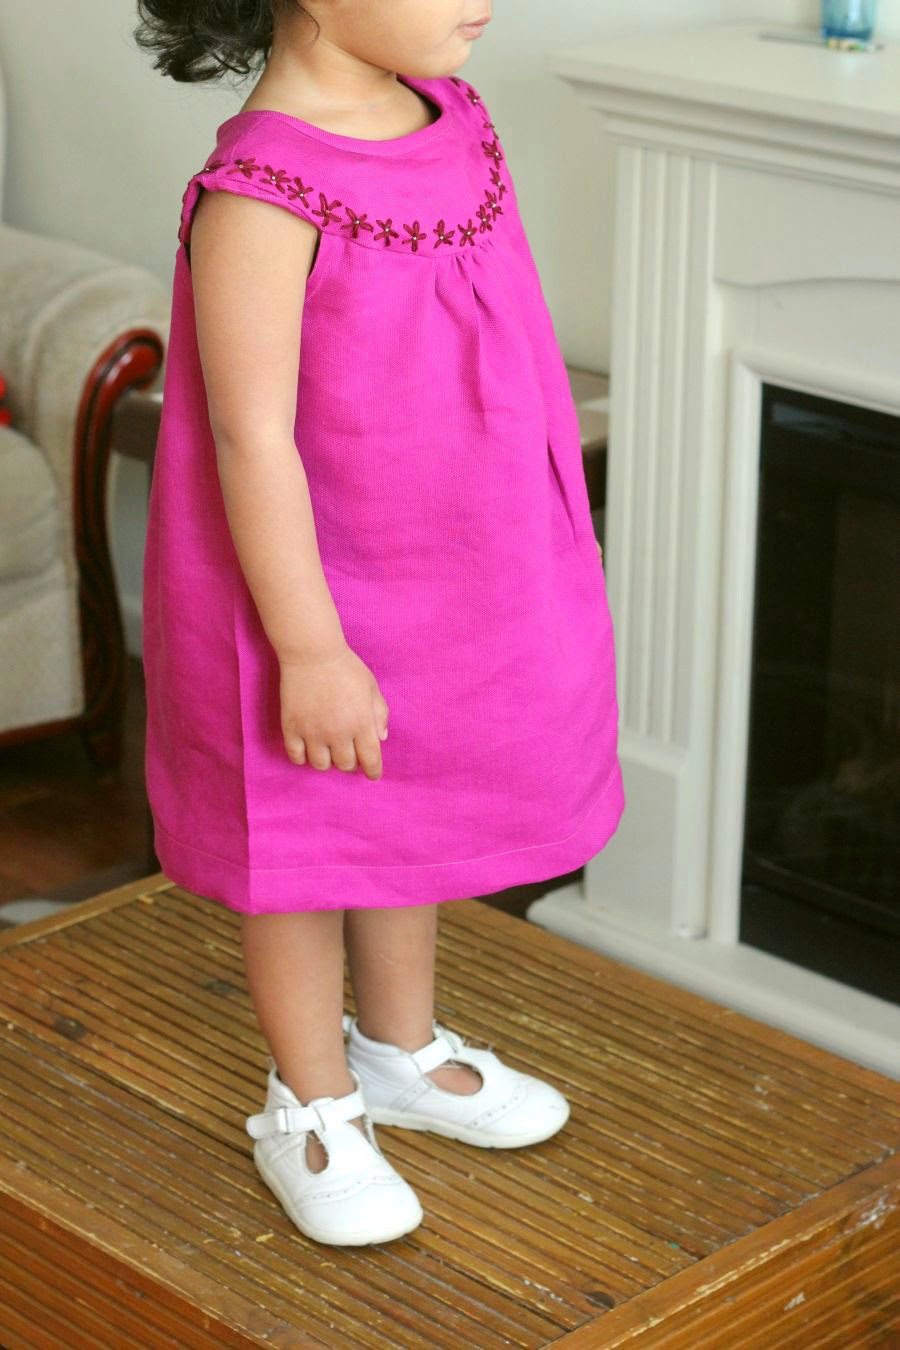
 Examples: Yoke (convex) attached to the body piece (concave).

Nightie pattern Nightie pattern sewing curves
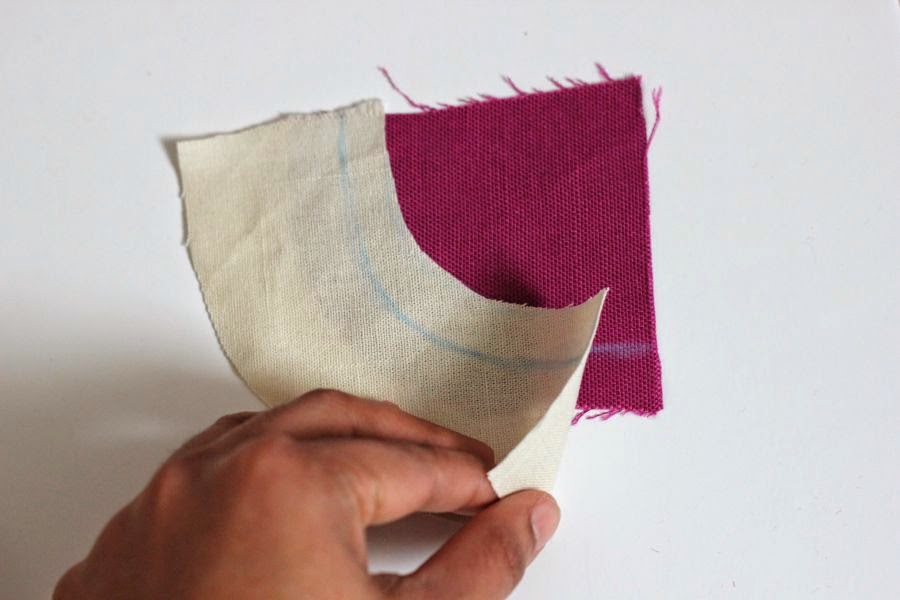
  This involves some thinking - Let's have a look at at the below pieces of concave and convex fabrics that we will be sewing together:
How to sew curved seams tutorial Tricks and logic to sew opposing curved seams neatly
At first glance you may think that the purple convex fabric is much larger than the white concave fabric and that it can never be sewn together. Right?? Now look closely. The blue colour stitching line (not very visible after I've put some dashed lines, sorry) is 13 cm on both fabrics.
Overlap the 2 fabrics on the blue stiching line and you will see it fits perfectly. (right image)
Now how to sew it??
I think of it this way: We want to the edge length to be same as the stitching length.
Concave - The edge (11 cm) is smaller than the stitching line (13 cm). How to make the edge same as the stiching line? Cut/slit it so they can spread.
Convex -  The edge (15 cm) is longer than the stitching line (13 cm). How to make the edge same as the stiching line? Notch it up so they can overlap.

Don't want to think too much? Ok, Remember this:

CONCAVE = VALLEY =  SLIT = SPREAD

CONVEX = HILL = NOTCH = OVERLAP

Steps to sew:
I'm notching up the convex here but you could slit the concave - Just do one of them or its just too hard to make sure you sew it correctly.
Stitching curves - clipping and notching explained
 1. Stay stitch (just normal stitch) on the stitching line (I prefer to do it about 0.1 or 0.2 cm away from stitching line towards the edge). Next cut  notches about 3 cm away to start with. The interval depends on the how deep the curve is. I generally start with 3 cm and cut more if required.
Note that the notches reach the stitching line but not cut through it.
Sewing curved seams - clipping notching concave convex
 2. Start to pin the convex to concave at the stitching line (blue here).
How to pin curves before sewing
 3. Don't worry!! It will get bunched up because we haven't yet cut the concave piece.
Tricks to sew curves
 4. Sew at the stitching line with the convex piece on top being very careful there are not have any puckers on the concave piece.
How to sew curves - concave clipping, convex notching
 5. Grrrr!! Got a slight one there. I cannot be bothered to unpick and do it again for this little one. I'm sure I can fix this.
Successful perfect curves
 6. This is how it looks on inside. Still all curled up.
How to sew curves - concave clipping, convex notching
7. Now cut the concave being careful not to cut through the stitch.
How to trim curves

8. Trim the seam. I trim to about 0.7 cm.
Sewing opposite curves together
9. That little pucker shows up here!!
Pressing curves for a smooth finish

10. Nothing that a hot iron can't fix!!

How to sew 2 convex curves
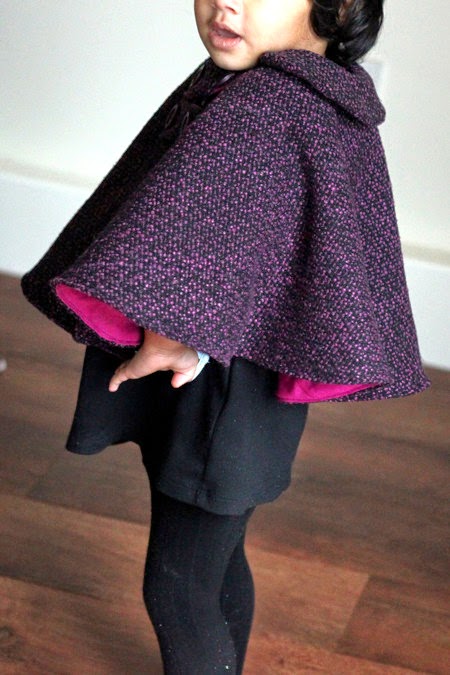
How to sew 2 convex curves


Cape coat sewing curves


Example: Bottom curve of the most complemented cape coat
Remember -

CONVEX = HILL = NOTCH = OVERLAP


How to sew convex curves together
1. Sew on the stitching line with right sides together
How to notch convex curves
2. Cut triangular notches on one of the fabric pieces.
What is notching
3. On the reverse cut notches in between the notches of the white fabric.
This way:
1. When you iron the fabric it will not sink inside of the triangles.
2. If it is sheer fabric you will not be able to see the triangles from outside. (If it is very sheer you'll still be though!)
Sewing curves - Alternate notches for a smooth curve
4. Another pic for clarity!!
Clipping curves
5. Trim the seam allowance to about 0.7 cm
How to get flat laying curves
6. At this point I turn the fabric on right side and see if the fabric still overlapping after the notches. It is here so I create more notches.
Notching convex for a smooth curve
7. Closer notches this time!!
How to sew curves - concave clipping, convex notching
8. The inside this time doesn't seem to overlap, I'm happy!
How to sew curves - concave clipping, convex notching
That's it!! Neat.


How to sew 2 concave curves

How to sew 2 concave curves

CONCAVE = VALLEY =  SLIT = SPREAD

I'll  post example soon. I've made a kurta for my daughter and I'll post the neck which is to attach 2 concave pieces.

How to sew curves - concave clipping, convex notching
 1. P:in the concave fabric right sides together. I sometimes do, most time not.
How to sew curves - concave clipping, convex notching
 2. Sew at the stitching line

How to sew concave curves and how to clip them for a smooth finish
3.  Now clip/cut/slit one of the fabric pieces and then turn and clip/cut/slit in between the intervals on the other fabric piece just like we did for the convex pieces.
How to sew curves - concave clipping, convex notching
 4. Trim to 0.7 cm seam.
How to sew curves - concave clipping, convex notching
 5. Turn right side lightly press with hand.
Spread curves for a smooth finish
 6. Have a look on the inside if they need to spread more. I'm happy here.
How to sew curves - concave clipping, convex notching
That's it!! Give it a good press.
Let me know if this was helpful.

If you enjoyed reading this you can either like my facebook page to get all updates and more or you can opt to receive posts via email. Don't forget to activate your subscription though!

Wednesday, 7 May 2014

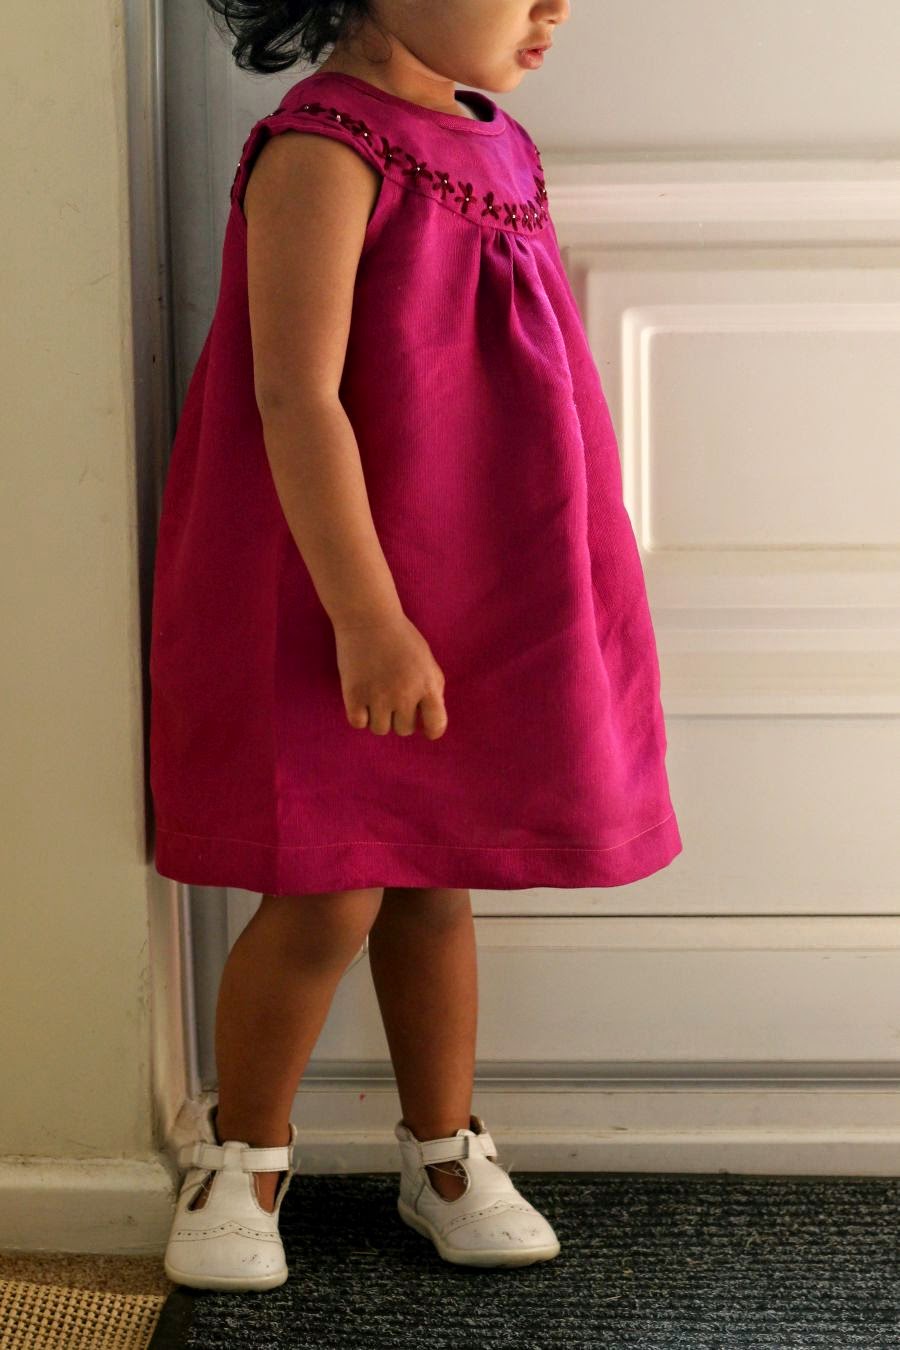
Aanchi pattern - 3rd try with some embriodery

Proud of this one!!
What did I learn -
1. How to make bias tape using bias maker
2. Sewing convex to concave seams neatly (can do better though)
You will get all detailed tutorials as part of the pattern. Don't worry!!

*UPDATE*: For the full tutorial and pdf download please refer the FREE NIGHTIE PATTERN

You can see my previous 2 attempts of the pattern here and here.  I'm planning to call this Aanchi pattern simply because my daughter says aanchi for sleep. :)
The fabric I used was left over from my favorite favorite cape coat lining.
I made little daisies using this tutorial  hand embriodery from Sarah. Towards the end of the hand sewing I got hang of it. I had to leave the stitches a little loose to get those beautiful petals. Next time may be!! :)

Nightie Aanchi free epattern
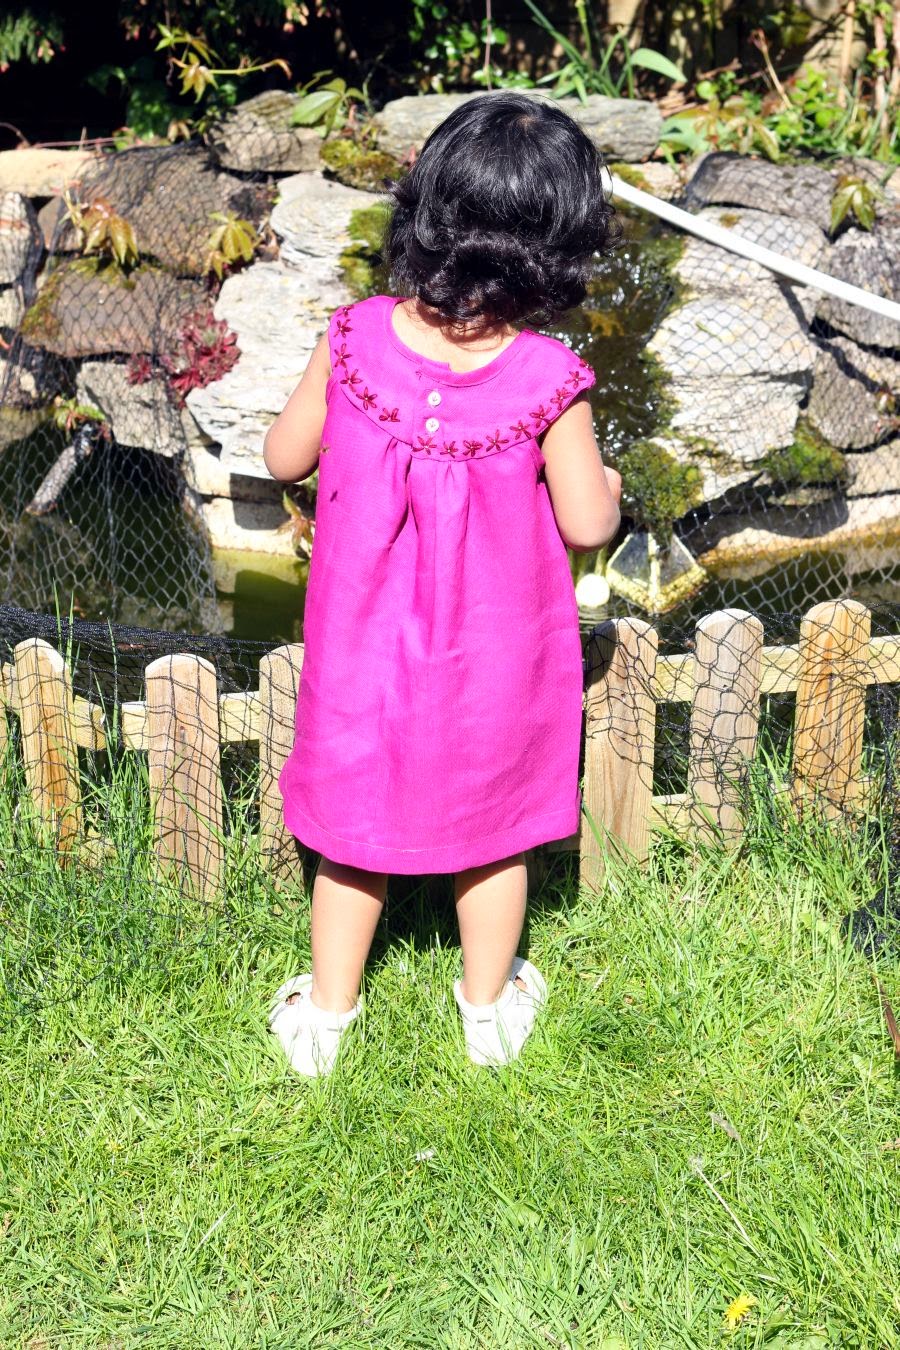
You can see one missing flower towards the center left. I ran out of thread and couldn't wait just for one flower to be completed. Also, the button flap was going to half cover it anyways I thought. But it is clearly visible. Nah?
Nightie Aanchi free epattern

Nightie Aanchi free epattern

Nightie Aanchi free epattern

Nightie Aanchi free epattern

Nightie Aanchi free epattern

Nightie Aanchi free epattern

Nightie Aanchi free epattern

Nightie Aanchi free epattern
 I'm very pleased with the inside of the garment. I'm being annoyingly finicky about the inside of garments these days. I love that it has no visible seams even inside of the garment, isn't that cool! ??
Nightie Aanchi free epattern

Nightie Aanchi free epattern

The horrible buttonhole again. I need to do something about this.

If you enjoyed reading this you can either like my facebook page to get all updates and more or you can opt to receive posts via email. Don't forget to activate your subscription though!

Tuesday, 6 May 2014

Link parties

I've been adding my creations to 2 link parties since a couple of weeks. I thought I'll put a post on which link parties I add to and just keep adding here when I find another party I want to attend :)
If you want me to add to any link parties I'll be happy to. :)
1. make it love it
2. nap time creations
3. thewinthropchronicles
4. ladybug-blessings
5. sugarbeecrafts
6. romantichome
7. skiptomylou
8. Projectrunplay
9. craftyblogstalker 

If you enjoyed reading this you can either like my facebook page to get all updates and more or you can opt to receive posts via email. Don't forget to activate your subscription though!

Monday, 5 May 2014

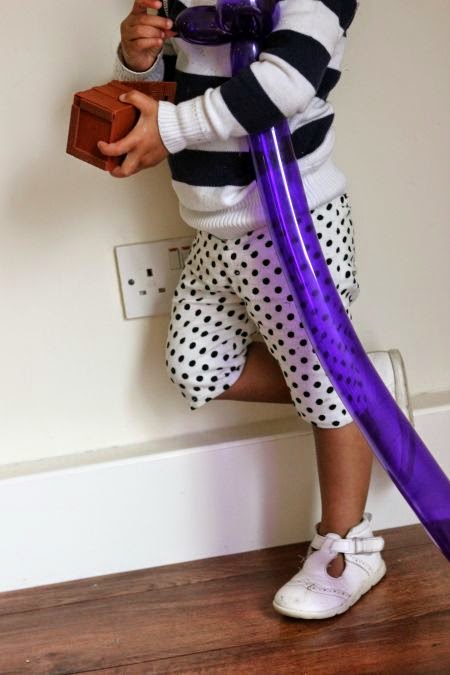
First time Trousers rather shorts - Love it!!

I had these lovely trousers of my daughter which must have been 6 months size but my daughter has worn it until one and half yrs. Put them to full use really!! :) The length was three quarters and the fit was perfect when she was one and half. Now that she is two it doesn't fit her over the waist. So I thought why not trace around to make a fitted trouser. I had little pieces of left over fabric from poltam skirt and this nirma skirt gift which I thought would be perfect to try out. I thought I did have the fabric for three quarters but after I started to cut I realised - No. :) But now that I had made up my mind to sew there was no looking back.
The one to the left is what I made and one to the right is what I traced from and just made the waist part and the thighs a bit wider (cut and spread method)
sew trousers
sew trousers sew trousers
These photos are about a year back. We had been to butlins. Heaven for children it was!!
And these are the inspiration for my polka dots trousers.


sew trousers
sew trousers
Love how neat the back has turned out.
 Sorry about the mess and the balloons all around. Its the only way I can take some photos.
I bought this button just because I liked it and bought the fabric after but they have come as a perfect match.
The most difficult part of the trouser was the fly. I got it wrong twice. And the third time I got it wrong with the left and right sides but didn't bother to correct it :)
sew trouser
 I have put them on for a holiday this year as well - and that was again to bultins :)

If you enjoyed reading this you can either like my facebook page to get all updates and more or you can opt to receive posts via email. Don't forget to activate your subscription though!

Thursday, 1 May 2014

Nightie Free Pattern Second try

Ok This is my second try and it quite looks like a nightie. Only thing different I did from my first try was to extend the length. I guess this pattern could double as summer dress? What say?
Had been to TK max today and saw lots of dresses in this pattern. I'm not sure anymore to call this a nightie or not?
Well I'm teasing here saying coming soon, but I really need to test the pattern I made at least a few times (may 3-4 minimum)  before releasing?Please bear with me


Nighty Free Pattern


Learning:
1. Attaching convex to concave curves is a technique really. I had to notch the edges for the fabric to lay flat to sew.  The most time consuming part of the dress is aligning the yoke to the body front and back, and this is only because I want it to look super neat inside out.
I told you, not a single seam of inside seen - not even where it attaches to the yoke.
2. Attach Bias binding : Learn't how to neatly attach bias binding even if sewing is not perfect (like me).

I'll put all my learning in the tutorial for you all! :)
Nighty Free Pattern
Nighty Free Pattern
I'm already thinking about doing some embroidery on the yoke. Wouldn't that be lovely.

Nightie Free Pattern

How pretty are these buttons.
Nightie Free Pattern
Little one was walking with a trellis I use for peas and in no time they were both fighting with them. I had to then stop photographing :)


Nightie Free Pattern

Nightie Free Pattern

Nightie Free Pattern

Nightie Free Pattern
 I don't know what is wrong my machine, the zig zag stitch really struggles, same with buttonholes.
Nightie Free Pattern
 I bias binded the armholes and neckline with store bought bias tape. It was super easy to do.I attached it to the wrong side and then right side. Really good.

I promise not long. I've just another one to test and after that I'll make the tutorial.
My final step on ePattern to learn is to divide the pattern up in pages so you can print.


If you enjoyed reading this you can either like my facebook page to get all updates and more or you can opt to receive posts via email. Don't forget to activate your subscription though!

Related Posts Plugin for WordPress, Blogger...