Showing posts with label phus phus skirt. Show all posts

Sunday, 16 March 2014

Phus phus skirt mini tutorial

Hi All, There have been comments that the tutorials are quite exhaustive for the more experienced. Yes yes, I've been listening :) So, here is a mini tutorial for the phus phus skirt. Hope it helps. For the full detailed tutorial please refer phus phus skirt free pattern.
Have a great Sunday!
I'm off for Holi. :)

If you enjoyed reading this you can either like my facebook page to get all updates and more or you can opt to receive posts via email. Don't forget to activate your subscription though!

Monday, 3 March 2014

Phus Phus dressing up - part 2

Hi All, Hope you had a lovely weekend.
I'm totally loving the phus phus skirt. Its a bit odd - I make it and I say I'm loving it. But the skirt is so comfortable for my girl and at the same time it looks so good I can't help it. The clothes that are comfortable don't look that good and if they look good they are pulling at odd places that she will refuse to wear.
Here are some more photos I took of my little girl. I'm not or shall I say not yet comfortable to post her pics and the pics go around pinterest everywhere. I had posted part 1 of phus phus skirt dressing up is here.
How to sew a skirt

How to sew a gathered skirt

I bought these shoes from mothercare and have used it to death. I've now bought the blue version as well. I love Jamie Oliver and now I love Jools. :)

Have a lovely week.
Preethi.

If you enjoyed reading this you can either like my facebook page to get all updates and more or you can opt to receive posts via email. Don't forget to activate your subscription though!

Saturday, 8 February 2014

Dressing up - Phus phus skirt

Ok, another post full of photos - ways to dress up your phus phus skirt all seasons. Few other photo posts are here, here and here.
Full instructions here to make the  phus phus skirt.

Winter:

Different ways to dress up skirts in all seasons

Spring/Autumn:


Summer: (Not many photos since it is winter now)


Thanks for reading.
-Preethi.

If you enjoyed reading this you can either like my facebook page to get all updates and more or you can opt to receive posts via email. Don't forget to activate your subscription though!

Tried fixing turning of elastic at the back

I tried to fix the back of this skirt based on the perfect (or so I call it) phus phus skirt I was creating.
The back of the phus phus skirt is both gathered and elasticised to give that flat look but when I created this skirt I had fully elasticised the back.


Now when I tried doing this following step 17 of phus phus skirt I just couldn't get the fabric over the waistband fully straight even though I used all my energy with both hands.
Also when I'm behind the sewing machine I cannot pull it so taunt like shown here.
Had I gathered it slightly I would be able to stitch on top of elastic laying the fabric flat.
Do I didn't go ahead with my plan but just wanted to show that a gathered and elastic is the way to go :)

Thanks,
Preethi.


If you enjoyed reading this you can either like my facebook page to get all updates and more or you can opt to receive posts via email. Don't forget to activate your subscription though!

Sunday, 2 February 2014

Hem - Phus phus skirt

Hi All,

Final step now. For full steps pls goto phus phus skirt steps.
How to hem skirt
 1. Fold wrong side together 1cm and press.
hem skirt tutorial
 2. Fold again the hem allowance (2 cm my case) and press.

 3. Back stitch first sew all around and then at end back stitch.
 4. Done. This is how it looks before ironing.

5. You can iron the skirt and finish it. I however decided to add a trimming at the hem (optional).
How to add trimming or lace to skirt
 6. Start with 3cm away from side seam leaving a tail of 5 cm trimming.
 7. Sew from the right side of fabric(its easy to see how much to leave). Dont need to pin here.
 8. After fully all round adding the trimming stop sewing at 3 cm away from side seam you started at and leave 5 cm tail of trimming.
 9. Now just pinch the 2 sides together so it correctly covers the 6 cm unsewn area
 10. Sew the 2 trimmings together vertically.

 11. Cut after the stitching line and again sew the 6cm you left over the hem edge.
12. Finish!!!

How to add trimming or lace to hem tutorial

 Hope you have enjoyed the tutorial and made a beautiful skirt. Let me know.

Thanks,
Preethi.


If you enjoyed reading this you can either like my facebook page to get all updates and more or you can opt to receive posts via email. Don't forget to activate your subscription though!

Sew waistband - phus phus skirt

Hi All,
How to insert elastic in waistband of skirt without twisting

This tutorial is part of phus phus skirt. For all the steps please go phus phus steps.
Let us now sew the waistband.

How to finish waistband of skirt
 1. The waistband with no interfacing (back of skirt) now needs to be turned under (wrong sides facing each other).
You could do this step when you are ironing the waistband half way but since my cutting & sewing is not perfect I prefer to do it now (measuring now). If your cutting is neat then you could do it at step 1 before gathering and it will look like this.
 2. I prefer to measure and then turn under and pin it. Measure it so it is at least 0.3-0.4cm more than the elastic. I'm doing here 3.4 cm.
How to finish waistband without topstitching
 3. Now sew so that it just about (again just about) covers the stitching beneath.
The back looks like this
 4. Now stitch on top of the waistband (only on the back of the skirt). We haven't yet started the front. Just catch the fabric that's it.
 5. Set machine to zig zag stitch to do the ends of the elastic.

 6. Attach a safety pin to one end of the elastic.
.inserting elastic tutorial
 7. Insert elastic through the front waistband opening.
 8. See that one cm is peeking out on both ends and pin the elastic at the seam.
9. Set machine to normal stitch.
 10. Sew the elastic where you have pinned it that is at the seam (just where both the seams meet)
 11. We will need to do 2-3 stitch lines back and forth here because there is lot of stress here. So with needle down raise the foot.
 12. Turn the fabric other side. Sew and back stitch. I stitched 2 times, you could do 3.
 13. This is how it looks. Because it is between the seams it is hardly visible.
 14. This is how the elastic now looks .Neat but we will make it neater :)
 15. Remember to remove the safety pin. :)
16. Now we need to pin to even out the gathers on the elastic
a. Eyeball or fold in half middle of elastic (or back of skirt) and adjust the gathers on the elastic to pin against where we have the center marking on skirt.(this is already marked)
b. Do the same at 2 quarter points on the skirt marking as well.


Stitching on top on elastic for perfect waistband
  17. Now the trick like we followed twisted elastic - fixed. This is all only on the back remember. In the middle of the waistband now start at one side seam, back stitch.
sew on elastic of the waistband
 18. Now sew by pulling the fabric with elastic so it is fully straight sew in the middle. You cannot see my left hand here as I used it for clicking but use your left hold the fabric behind the foot. :). The 2 hands are pulling the waistband against each other at the foot.

insert elastic perfectly tutorial
 19.Neat finish. Do you agree?

Finish the front waistband for a flat front skirt
 20. Now we will finish the front waistband. Turn over wrong sides together for same length as back waistband you folded under (3.4) cm for me and sew over.
 21. Done.
22. This is how the inside looks.
Thanks,
Preethi.

If you enjoyed reading this you can either like my facebook page to get all updates and more or you can opt to receive posts via email. Don't forget to activate your subscription though!

Gather - phus phus skirt

I'm using my favorite gathering method - which is 2 lines of basting stitches on top of seam allowance and one below.

For full steps to create phus phus skirt goto phus phus skirt steps.
1. Before we start to gather press the waistband tube in half.

Follow the gathering tutorial if you need detailed steps else continue here.

Mark the center and quarter points like we did in the tutorial marking a little beyond the seam allowance.
 2. Run the 3 lines of gathering with contrast colour. I'm using here different colours for front and back but you don't need to. I'd actually run out of yellow so used blue and then realized it is much easier to pick the threads and gather if they are of different colour.
Make sure the sewn long tails are out of way.
 3. Using pull push method gather the front and back. See that the skirt is wrong side out. You don't have to be perfect as we will do that later. I like to gather a lot and then ease out as required.

4. Now wear the waistband to the skirt (literally like wearing).  Read it like
both wrong sides are looking at you. OR
right side of waistband to wrong side of skirt.


5. Now pin the markings of center, quarter points and the side seams of waistband to skirt. (front or back will do - there is front or back yet for the skirt). When pinning the side seams make sure the seams that you pressed open remain open.


6. You'll notice that the in certain areas you have gathered more and certain areas its way too gathered. Now is the time to straighten it or perfect it. :). If I pin first and then gather I take way too much time because spreading or pushing the gathers after pinning takes much longer. In the gathering tutorial however it was smaller piece so didn't feel the pain. I'll change in the tutorial as well.


7. After it is straightened out meaning the breadths of waistbands to match that of skirt put more pins (2 in between each pins you have already put).
8. Now turn the skirt inside out so the right side faces up or faces you (its just easier to sew without gettings puckers and angles).

9. Right side up.

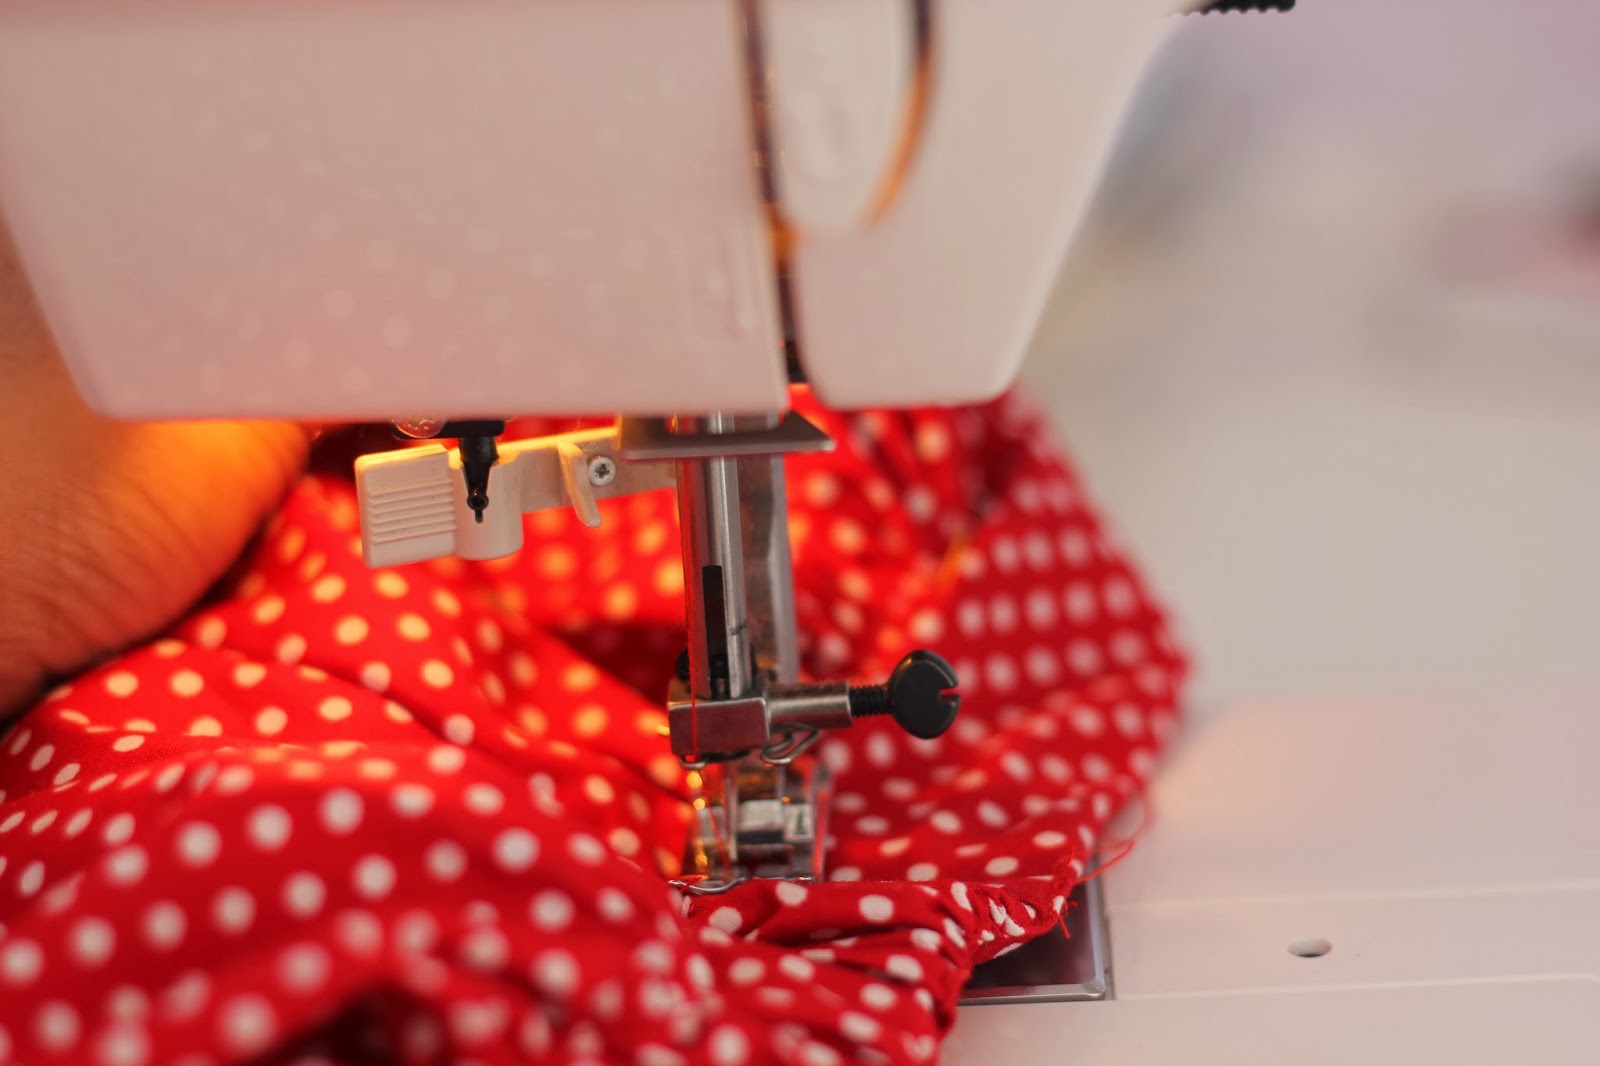
10. Set to stitch length normal. (2 here) and put the bobbin and thread to matching colour (red here).
 11. Remove the storage box so you can loop around to sew.
How to gather skirt for perfectly even gathers
 12. Sew at your seam allowance ( 2 in my case) with matching thread. Remember that the side seams pressed flat remain flat while sewing. It just looks neat that way.
 13. This is how it looks.
 14. Now cut the top of waistband at the 2nd sewn line from top.

15. Remove the gathering stitch below seam line by just pulling it or if it doesn't come out you will need to use the seam ripper.

Thanks
Preethi.

If you enjoyed reading this you can either like my facebook page to get all updates and more or you can opt to receive posts via email. Don't forget to activate your subscription though!

Related Posts Plugin for WordPress, Blogger...